ULTRASONIC METHOD (UT)
TEC Eurolab
Non-destructive testing by ultrasonic method (UT)
Check whether your product experiences volumetric discontinuities

WHAT DOES THE ULTRASONIC METHOD (UT) CONSIST OF?
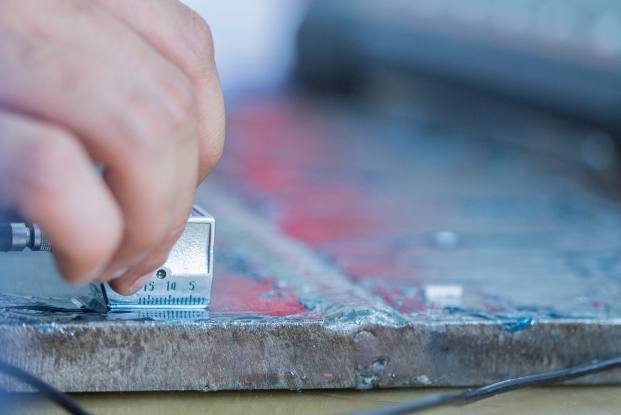
Ultrasonic inspection, identified by the acronym UT, is applied by sending mechanical vibrations into a material and is capable of detecting volumetric discontinuities.
The ultrasonic wave, by causing the crystal structure of the inspected material to vibrate, is able to obtain the response echo of any discontinuity located perpendicular to the direction of propagation of the UT beam.
Ultrasonic inspection is particularly suitable for searching for all those volumetric discontinuities that may not surface if sufficiently distant from it.
WHERE AND WHEN IS ULTRASONIC METHOD (UT) CONTROL APPLIED?
UT control is normally applied on materials having a crystalline structure (typically metallic materials), which is necessary for a UT beam propagation. There are no particular restrictions about the material being inspected, except that the crystalline grain should not be coarse in size; this condition in fact causes scattering of the ultrasonic beam and loss of information from any discontinuities.
For metallic materials, typical products subject to inspection are forged products (in which discontinuities lie in precise planes), welded products, and semi-finished products such as bars or billets. UT inspection on metallic materials can also be performed on cast components, but the geometric complexity of the component must be considered to define the limits of inspectability.
Do you need an ultrasonic inspection?
TEC Eurolab can carry out
the tests you need.
FAQ – ULTRASOUND METHOD
Faq
Can ultrasonic non-destructive testing also be performed on advanced materials such as carbon, Kevlar…?
Yes, checks can be performed through both the radiographic method, e.g. tomography, and the ultrasonic method, although for innovative materials there are not always reference standards for operators. On carbon, for example, ultrasonic examinations can be performed using unconventional techniques, such as the squirter technique, which is useful for detecting delaminations. Before checking, it is always a good idea to create appropriate reference sample-blocks.
Which methods are most in demand and which methods are most used?
Among the most requested and used techniques we can mention: visual examination, liquid penetrant inspection, magnetoscopic examination, ultrasonic examination, radiographic examination. The choice is always a function of the type of defect to be investigated, accessibility of the material, and other important parameters.
DISCOVER MORE
Insights
TEC Eurolab has echo-pulse and phased array instrumentation for performing UT checks.
TRAINING
TEC Eurolab Academy 2023 Scheduled Courses
Are you planning your company’s technical training for the new year?
TEC Eurolab Academy is pleased to share the 2023 CALENDAR, with the rich proposal of technical training offered by TEC Eurolab.