SCIENTIFIC RESEARCH
TEC EUROLAB
Our contribution to scientific research
We believe cooperation to be the key to innovation and technological development.
Therefore we are fully invested in scientific research and we collaborate with universities and research centers in order to share knowledge and develop new technical capabilities.
Read below our scientific papers and publications
Are you a university or research center? Are you interested in our technical know-how and want to collaborate?

Universities we collaborate with
UNIVERSITÀ DI MODENA E REGGIO EMILIA
UNIVERSITÀ DI BOLOGNA
POLITECNICO DI MILANO
POLITECNICO DI TORINO
UNIVERSITÀ DI PISA
UNIVERSITÀ DI TRENTO
Our latest pubblications
Learn more about our scientific publications
February 2024
High Energy Computed Tomography of high-density alloys using a 6 MeV Linear Accelerator: detectability and use of Artificial Intelligence
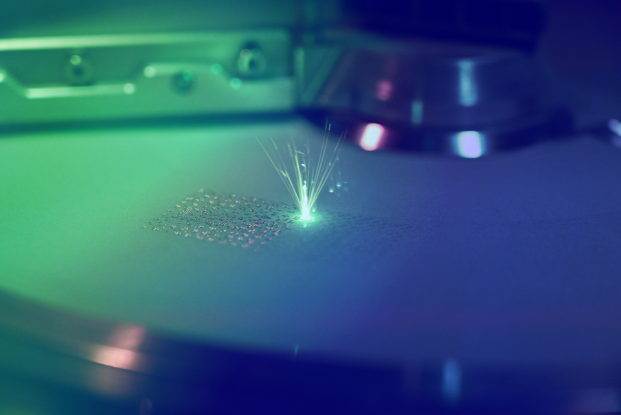
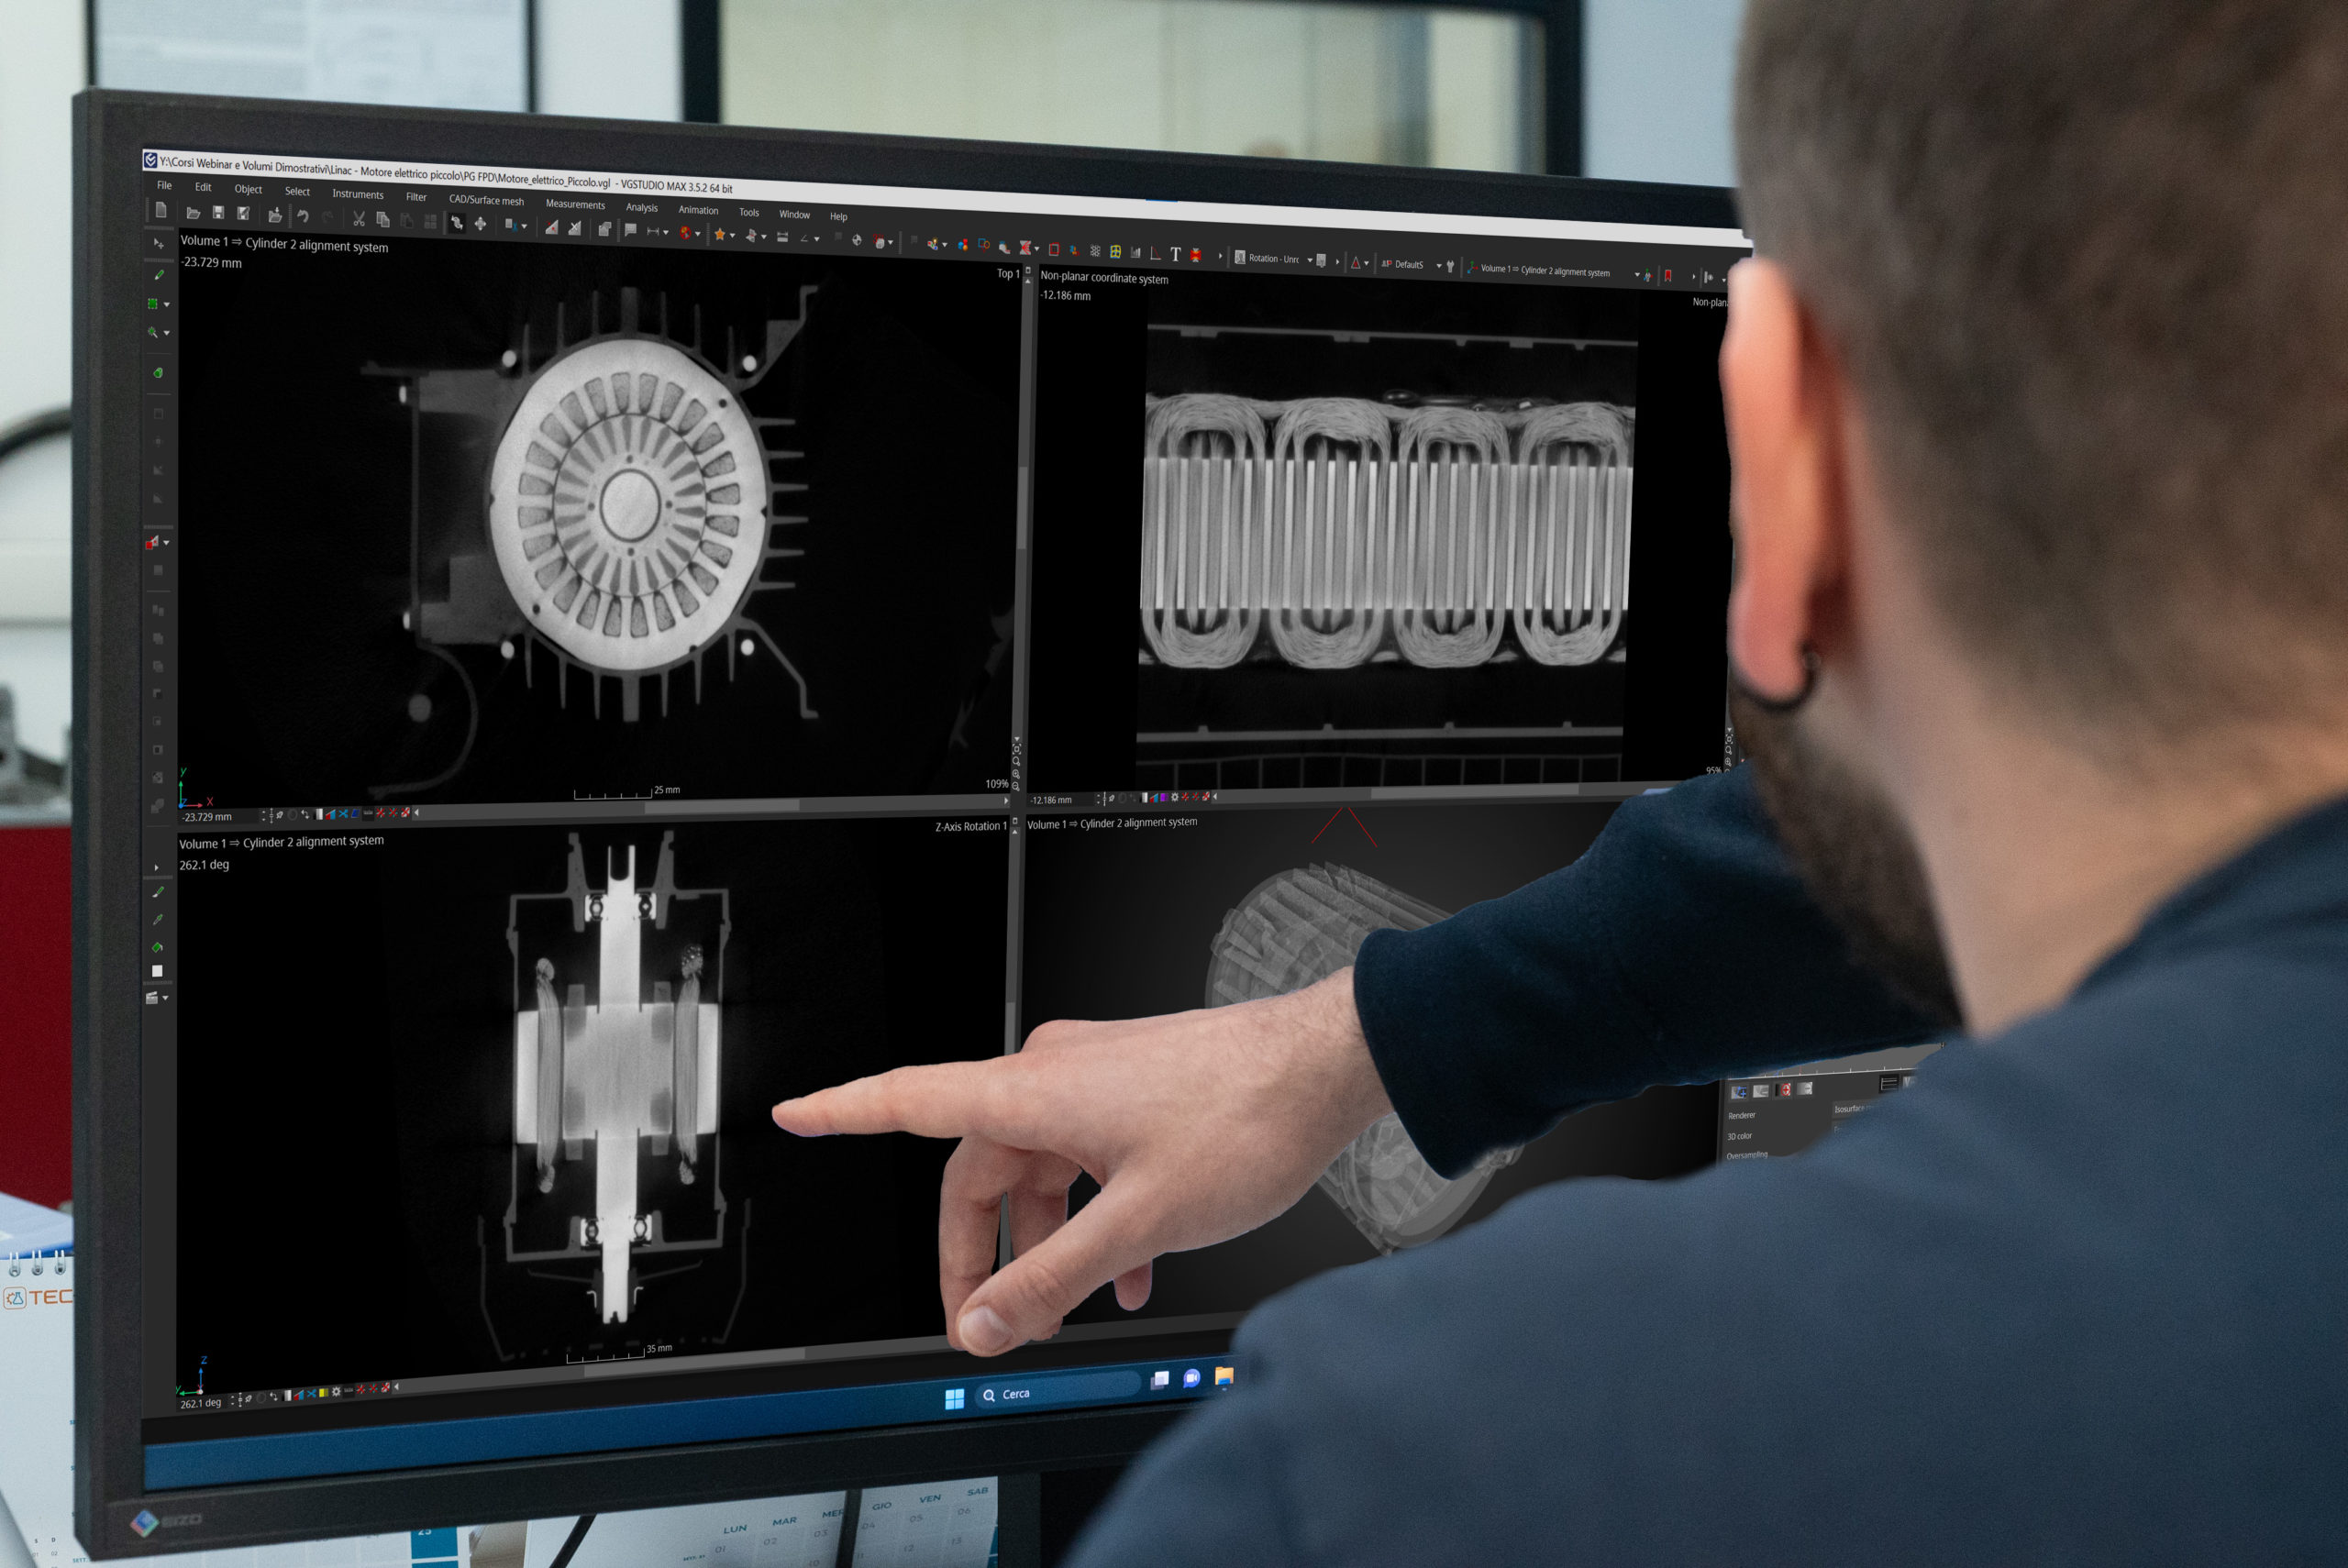
In a sector not yet regulated like Additive Manufacturing, knowledge of the technology represents an important opportunity for companies that want to guarantee the quality of their 3D printing products. Furthermore, AM technologies are acquiring an increasing importance in the industrial production and in different fields, also using different materials, from polymeric to high density material such as Inconel. Components made by this technology could have complex geometries and the combination with high density materials can compromise both the capability and overall quality of the process. Industrial computed tomography is a widespread NDT technique that allows to perform a complete analysis, by combining dimensional inspection and a full volume defect control. At this point, it is important to define the limit of this technology in terms of detection of defects and geometries. This case study will focus on the first topic looking for the detectability of anomalies within the components made by Titanium alloy (TA6V) with high thickness, adding some considerations about possible use of an Artificial Intelligence (AI) based software, using a powerful source such as a Linear Accelerator. Many experiments have been performed through different CT analysis techniques, some of them carried out at high resolution on small samples made in Titanium alloy (TA6V) by additive manufacturing, looking for the real shape of designed defects. Then, a scan of these samples was performed using the LINAC system. Moreover, the use of a trained AI allows optimization of NDT process, thus reducing the influence of the human factor. The results showed the reliability of the technique and procedure used, given that it is possible to detect defects even in the worst analysis condition as in this case. These results consider both human factor and quality parameters of a CT system.
30th June 2023
FEM Simulation of AlSi10Mg Artifact for Additive Manufacturing Process Calibration with Industrial-ComputedTomography Validation
Dimensional accuracy of selective laser melting (SLM) parts is one of manufacturers’ major concerns. The additive manufacturing (AM) process is characterized by high-temperature gradients, consolidation, and thermal expansion, which induce residual stress on the part. These stresses are released by separating the part from the baseplate, leading to plastic deformation. Thermo-mechanical finite elements (FE) simulation can be adopted to determine the effect of process parameters on final geometrical accuracy and minimize non-compliant parts. In this research, a geometry for process parameter calibration is presented. The part has been manufactured and then analyzed with industrial computed tomography (iCT). An FE process simulation has been performed considering material removal during base plate separation, and the computed distortions have been compared with the results of the iCT, revealing good accordance between the final product and its digital twin.
17th September 2018
A Study on the Use of XCT and FEA to Predict the Elastic Behavior of Additively Manufactured Parts of Cylindrical Geometry
Defining general criteria for the acceptability of defects within industrial components is often complicated, since the specific load conditions and the criticality of the given application should be considered individually. In order to minimize the risk of failure, high safety factors are commonly adopted during quality control. However this practice is likely to cause the rejection of components whose defects would be instead acceptable if a more sound knowledge of the component behaviour were achieved. Parts produced by additive manufacturing (AM) may suffer from various defects, including micro- or macro-holes, delamination and microstructural discontinuities. Such processes, which are specially suitable for one-off components, require robust and reliable inspection before a part is accepted or rejected, since the refusal of even a single part at the end of the production process represents a significant loss. For this reason, it would be very useful to simulate in a reliable way whether a certain defect is truly detrimental to the proper working of the part during operation or whether the component can still be used, despite the presence of a defect. To this purpose, the paper highlights the benefits of a synergistic interaction between Industrial X-ray computed tomography (XCT) and finite element analysis (FEA). Internal defects of additively manufactured parts can be identified in a non-destructive way by means of XCT. Then FEA can be performed on the XCT-based virtual model of the real component, rather than on the ideal CAD geometry. A proof of concept of this approach is proposed here for a reference construct produced in an Aluminium alloy by AM. Numerical results of the proposed combined XCT–FEA procedure are contrasted with experimental data from tensile tests. The findings sustain the reliability of the method and allow to assess its full provisional accuracy for parts of cylindrical geometry designed to operate in the elastic field. The paper moves a step beyond the present application limits of tomography as it is currently employed for AM parts and it evidences instead the possibility of extending the usage of tomography to acceptance testing and prediction of operative behaviour.
13th October 2015
Microwave assisted synthesis of Si-modified Mn25FexNi25Cu(50-x) high entropy alloys
Rapid microwave heating at 2450 MHz of metallic powders mixtures compacts was performed under Ar flux in a single mode applicator in order to produce Si-modified Mn25FexNi25Cu(50-x), (x=25, 30, 35, 40) high entropy alloys. Microwave heating was conducted in presence of a SiC auxiliary absorber, so that the compacts are subjected to both direct heating by microwave absorption and in direct heating by the auxiliary absorber. Due to the extremely rapid processing times, including the cooling stage, depletion of the most oxygen-reactive elements was moderate, considering the not perfectly protective atmosphere used. FCC solid solutions have been obtained and the role of Si is discussed as a microstructure modifier and as increaser of the microhardness.
Are you looking for a
Partner in R&D Projects?
LET’S TALK ABOUT IT
SCHEDULE A CALL WITH OUR R&D MANAGER


