high-energy industrial computed tomography
Tomographic Inspection beyond limitsCT Scan beyond limits with TEC Eurolab 6 MeV high energy X-ray Linear Accelerator
Performing a tomographic analysis means combining metrological dimensional inspection and a complete defect control in a single non-destructive analysis, allowing any critical problem to be detected in a timely manner, improve product engineering confidence, and drastically reduce time to market.
TEC Eurolab 6 MeV LINAC is the first computed tomography system in Europe capable to scan products with non-standard weights, thickness and dimension with the power to investigate super alloys materials, such as
- Inconel 718
- Cobalt-Chrome (CoCr)
- Copper and similar

Reference and Case studies
Real examples of what we can do for you with our super powerful 6 MeV linear accelerator
CASE STUDY

RQI CT Scan with 6 MeV Linear Accelerator | Safran
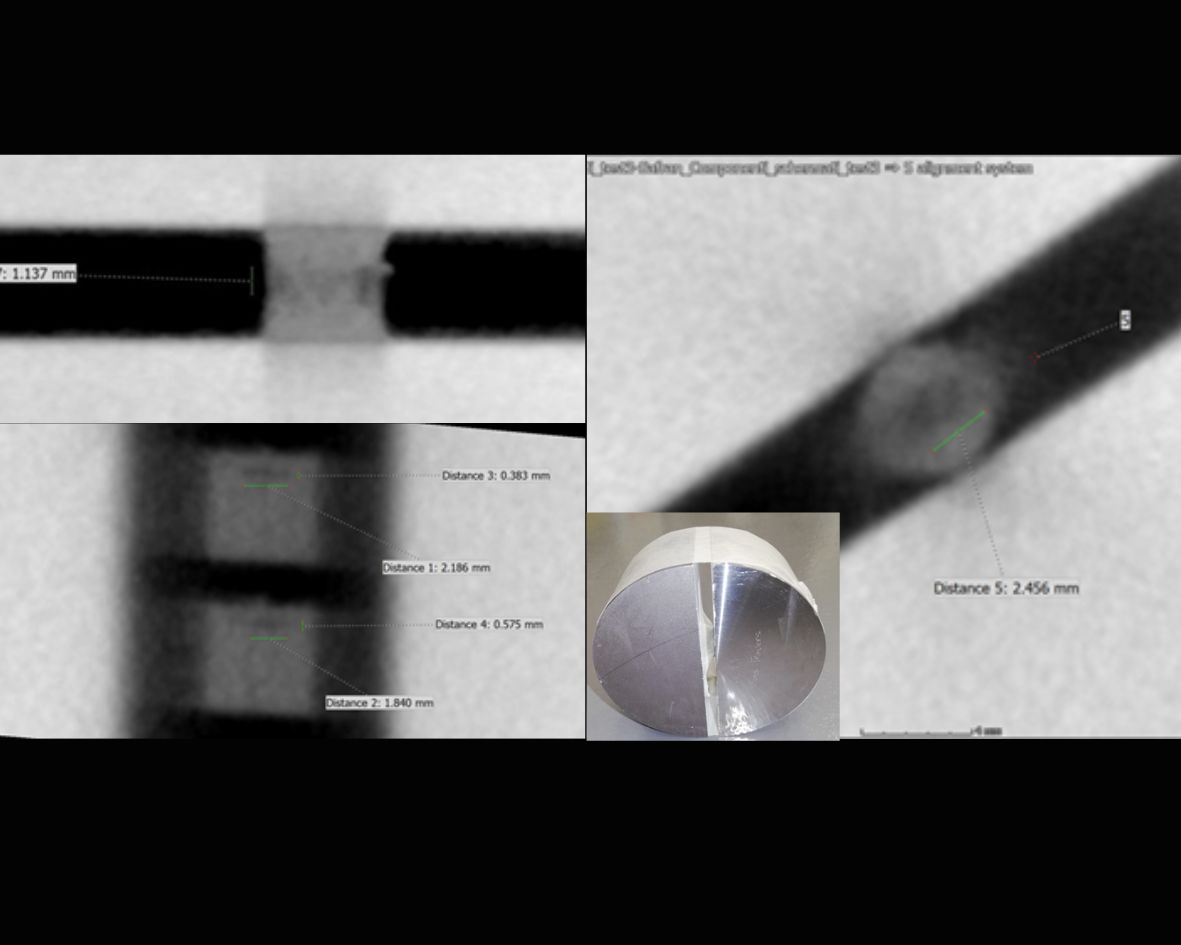
TEC Eurolab, in collaboration with the SAFRAN group, has investigated the possibility of detecting artificial discontinuities engineered through additive manufacturing. The activity involved the scanning of N° 2 RQI (Representative Quality Indicator) containing known discontinuities, both without shielding and when a shielding equal to approximately 100 mm of Inconel was present.
Are your components high density? Find out how we approached this case
CASE STUDY

Gear wheel – comparison of CT Scan made with two different systems and energy levels
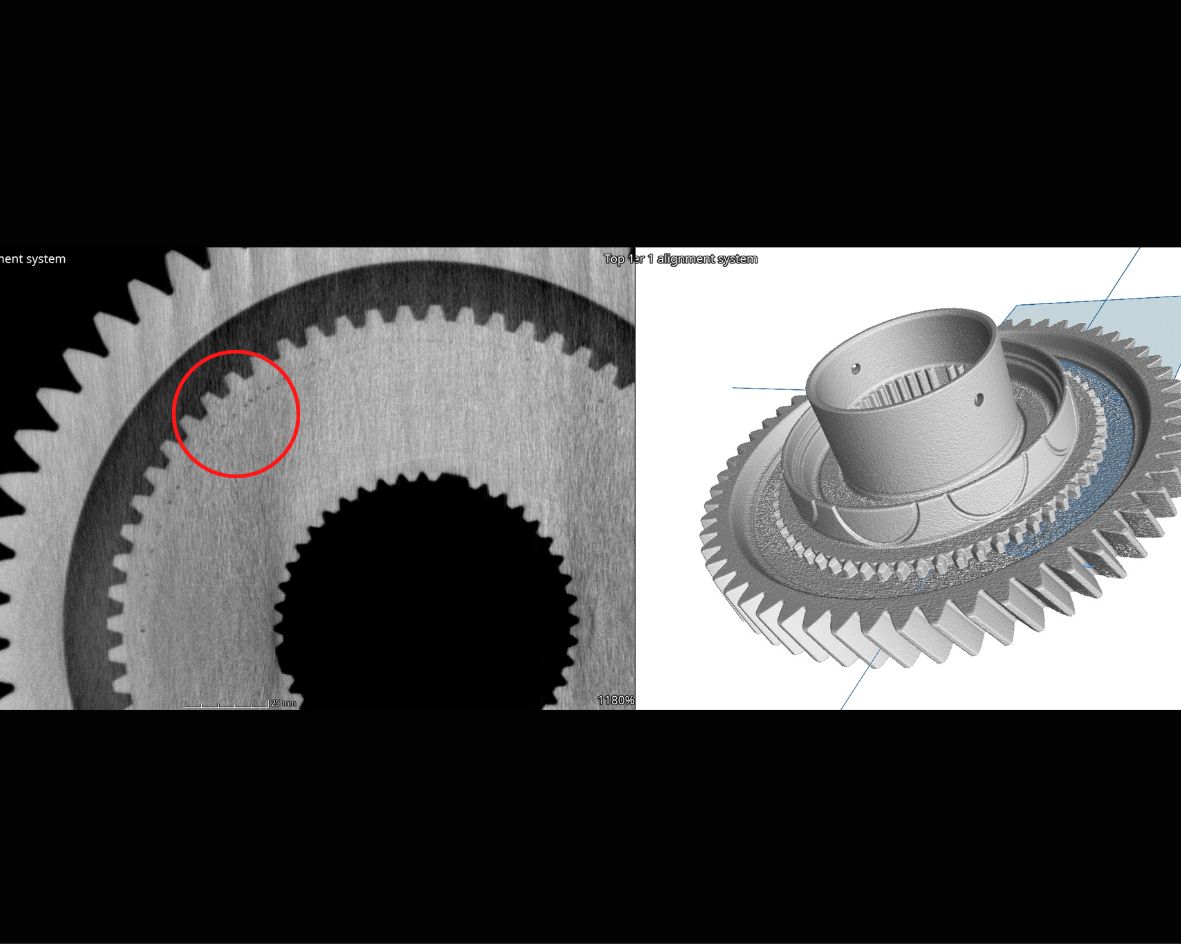
The aim of this case study is to compare the two most powerful systems installed in our Tomography Center (DIONDO D7 Vs. NSI X7500) by scanning the same component and performing a defectological comparison coupled with an STL extraction, highlighting how the power of the source used can influence the outcome of the inspection.
Does your component have internal discontinuities? Find out how we approached this case
Are you looking for the right tool to discover possible defects in your component?
Try our super accelerator for super alloys
Watch some selected examples of scans made with our 6 MeV linear accelerator
Discover the powers offered by a unique high-power CT system in Europe
TURBINE BLADE
ELECTRIC MOTOR
STEEL CRANKSHAFT
PNEUMATIC ACTUATOR
Which tests can be done with industrial tomography and what results can be obtained?
Defect Analysis
- Assessment of internal discontinuities in accordance with acceptability specifications and issuance of Accept / Reject judgment
- Classification of discontinuities in terms of extension in the 3 dimensions, type and position with respect to the CAD of the component
- Definition of the total volume occupied by the discontinuities in relation to the total volume of the component with the application of specific calculation modules “Porosity”.
- Import of the mathematical models of the component and verification of the removability of the discontinuities detected during the machining phase for In-Process and Cost Saving controls
Dimensional Analysis
- Deviations from CAD, both of internal features (not accessible with traditional controls) and external features
- Wall thickness analysis for the detection of thicknesses, with easy identification of critical areas thanks to the application of chromatic scales
- Reverse Engeenering: in the dimensional field CT finds many applications in recreating CAD (through STL extraction) starting from the physical component when the drawing is no longer available.
This application is functional to all technologies, both classic, in the case of components whose drawings are only available in paper format, and innovative such as Additive Manufacturing, where there may be a need to manufacture a component produced with “standard” methodologies by means of 3D printing.
First Article Inspection
The purpose of the first product validation is to give objective evidence that drawings, dimensions and all design specifications are verified and classified with the intent to bring out any non-conformities in order to avoid the presence of the same in the series production. The tomographic control, thanks to both defectological and dimensional applications and to the possibility of detecting both internal characteristics (ducts, blind holes, internal circuits), allows a precise and reliable FAI characterization.
We have taken tomographic inspection beyond every limit
Get in touch with our qualified technical staff
OUR ACCREDITATION
Our certifications NADCAP, EN 9100 and ACCREDIA, in addition to the qualifications received by customers such as Boeing, Ge Aviation and Leonardo, are a further guarantee of our ability to support companies to ensure maximum performance of products and materials.
NADCAP
Accreditation issued in accordance with SAE Aerospace Standard AS7003 to perform material testing, non-destructive testing and quality systems for Aerospace.
EN 9100:2018
Application of the management system in accordance with EN 9100:2018 for the supply of services as a testing laboratory for the aviation and aerospace industry.