Hot tensile testing
TEC Eurolab
High temperature tensile test on metallic materials
In the field of metallic materials, any tensile test performed at a temperature above 35°C is considered a high temperature tensile test. The international reference standards for performing this test are ISO 6892-2 and ASTM E21.
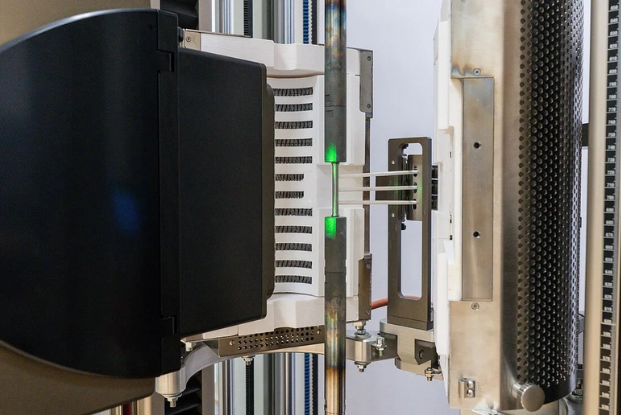
The influence of velocity on mechanical properties, which are determined by tensile testing, is generally greater at elevated temperatures than at room temperature. For this reason, both standards require the test to be performed in strain control.
Both mentioned reference standards provide 2 different types of strain rate control:
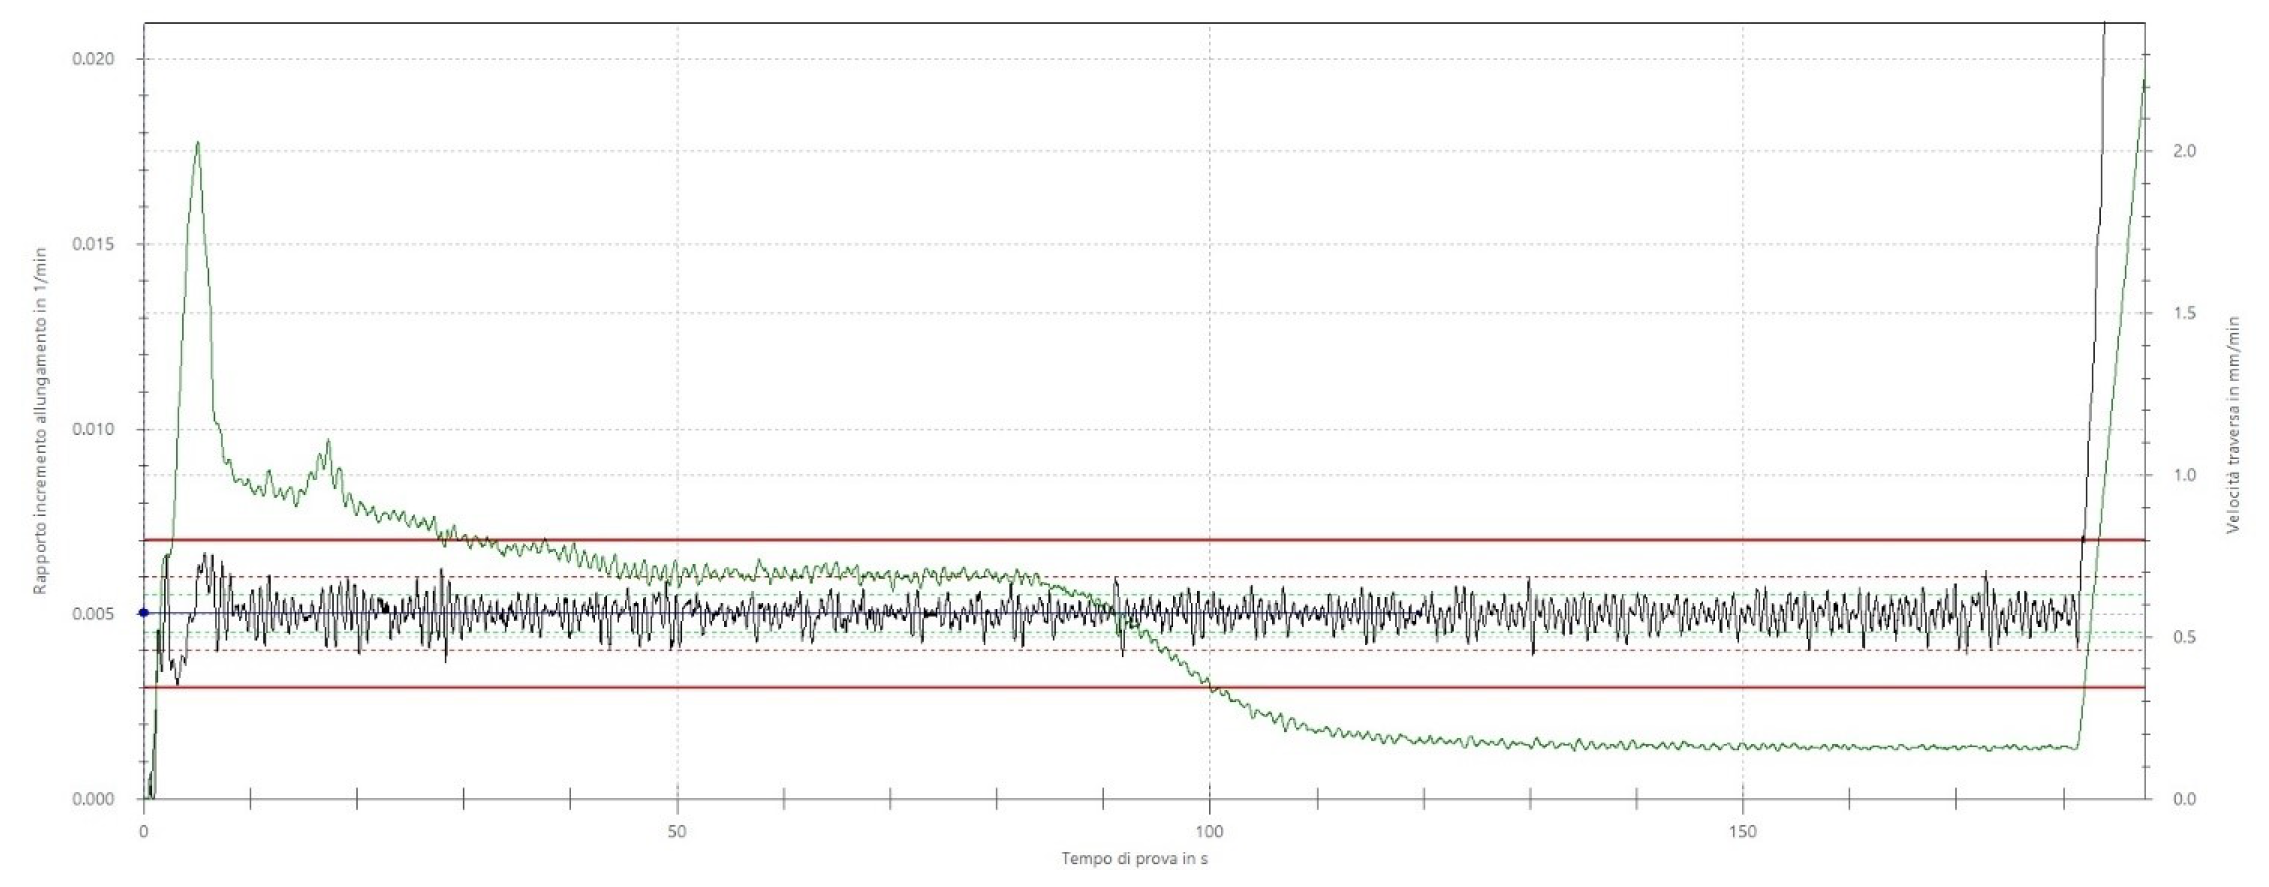
CLOSED LOOP (method A(1) ISO 6892-1, method B ASTM E8)
Based on the strain gauge reading (Le), the machine continuously adjusts the displacement of the crosshead to keep the imposed strain rate constant.
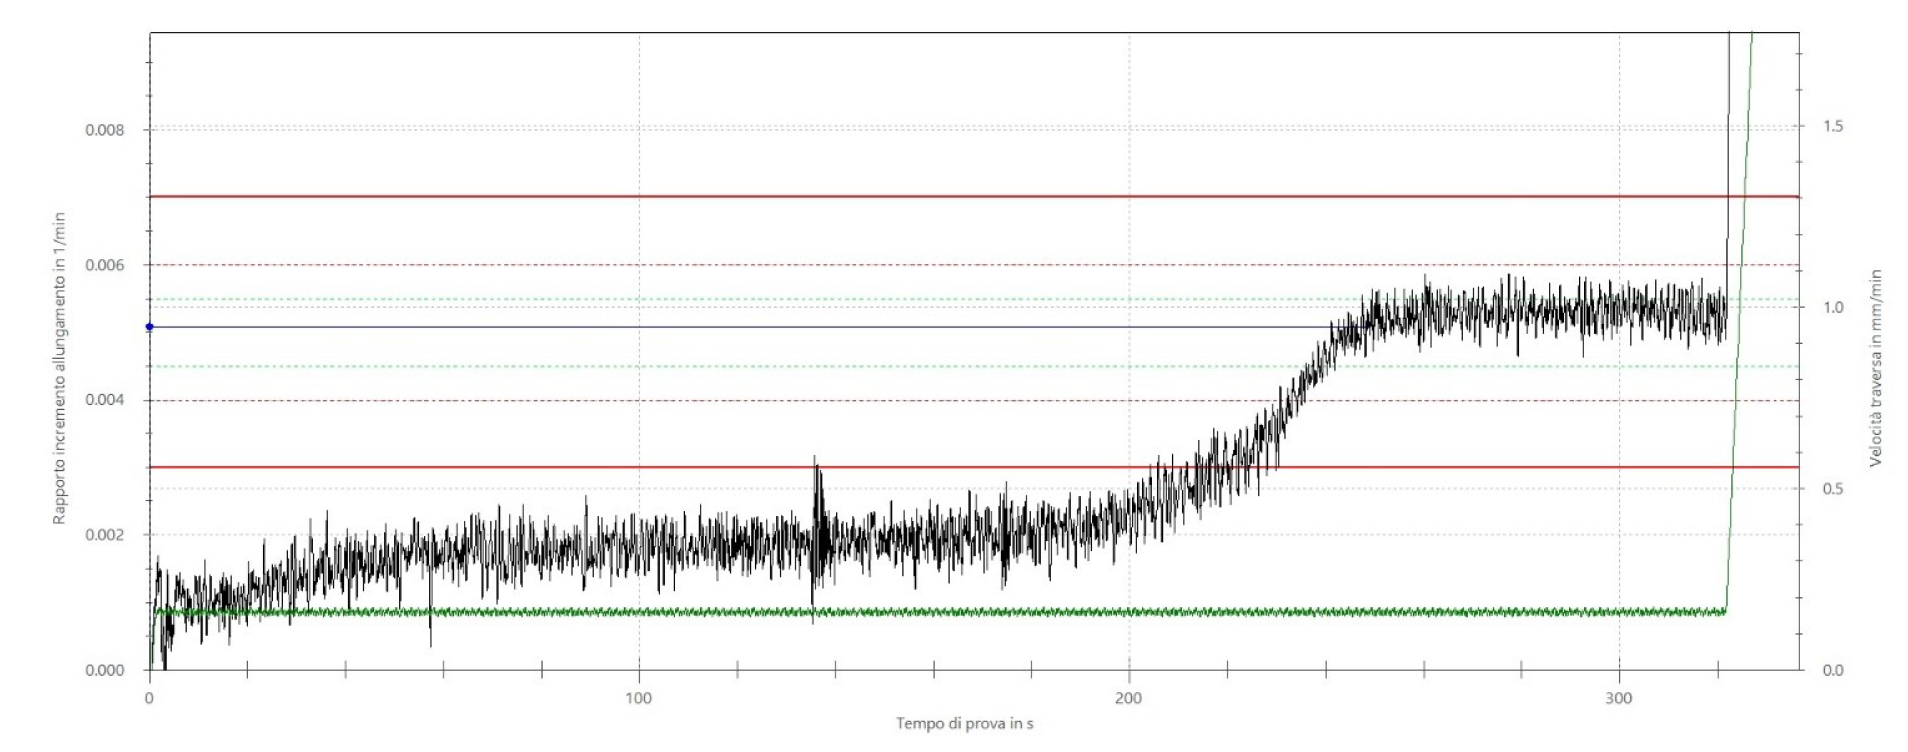
OPEN LOOP (method A(2) ISO 6892-1, method C ASTM E8)
Also referred to as “estimated strain rate,” an average strain rate is set based on the length of the calibrated section of the specimen (Lc), and control is done by moving the moving crosshead of the testing machine.
Just as the strain rate, the test temperature also influences the mechanical properties of the material. For this reason, both standards have strict tolerances on the set temperature and distribution along the calibrated section of the specimen.
UNI EN ISO 6892-2

ASTM E21
- For test temperatures ≤980°C (1800°F) → ±3°C (±5°F)
- For test temperatures > > 980°C (1800°F) → ±6°C (±10°F)
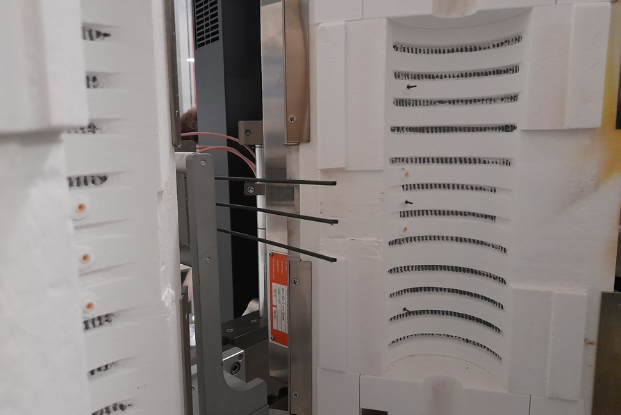
Temperature uniformity along the calibrated section of the specimen is verified simultaneously by 3 thermocouples in direct contact with the specimen, which in turn control 3 independent zones of the oven to ensure compliance with regulatory requirements regarding test temperature settings.
Strain measurement, on the other hand, must be performed by a strain gauge, which must meet the minimum regulatory requirements stipulated by:
- Class 1 of ISO 9513 standard, for testing in accordance with ISO 6892-2.
- Class B-2 of ASTM E83 standard, for testing in accordance with ASTM E21 standard
It is expected that the strain gauge will sample at least the first part of the tensile curve, until the yield strength of the material is reached. Once the plastic field is reached, it is possible to continue strain readings by means of the displacement channel of the moving crosshead of the testing machine, but in this case the measured strain values are affected by the strains of the entire testing system. To overcome this drawback, TEC Eurolab adopts a noncontact strain measurement technology, the Zwick/Roell laserXtens system. In fact, with this system it is possible to sample the entire tensile curve until the specimen breaks.
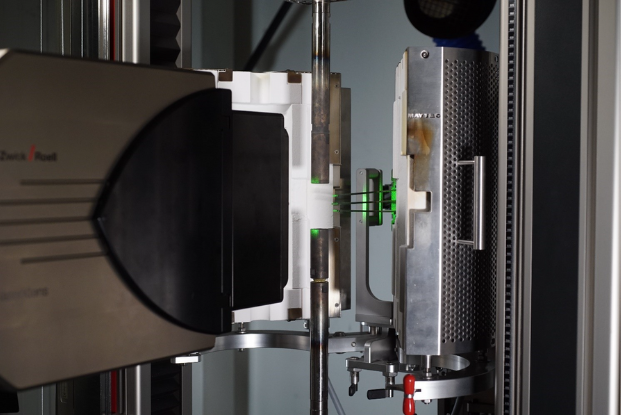
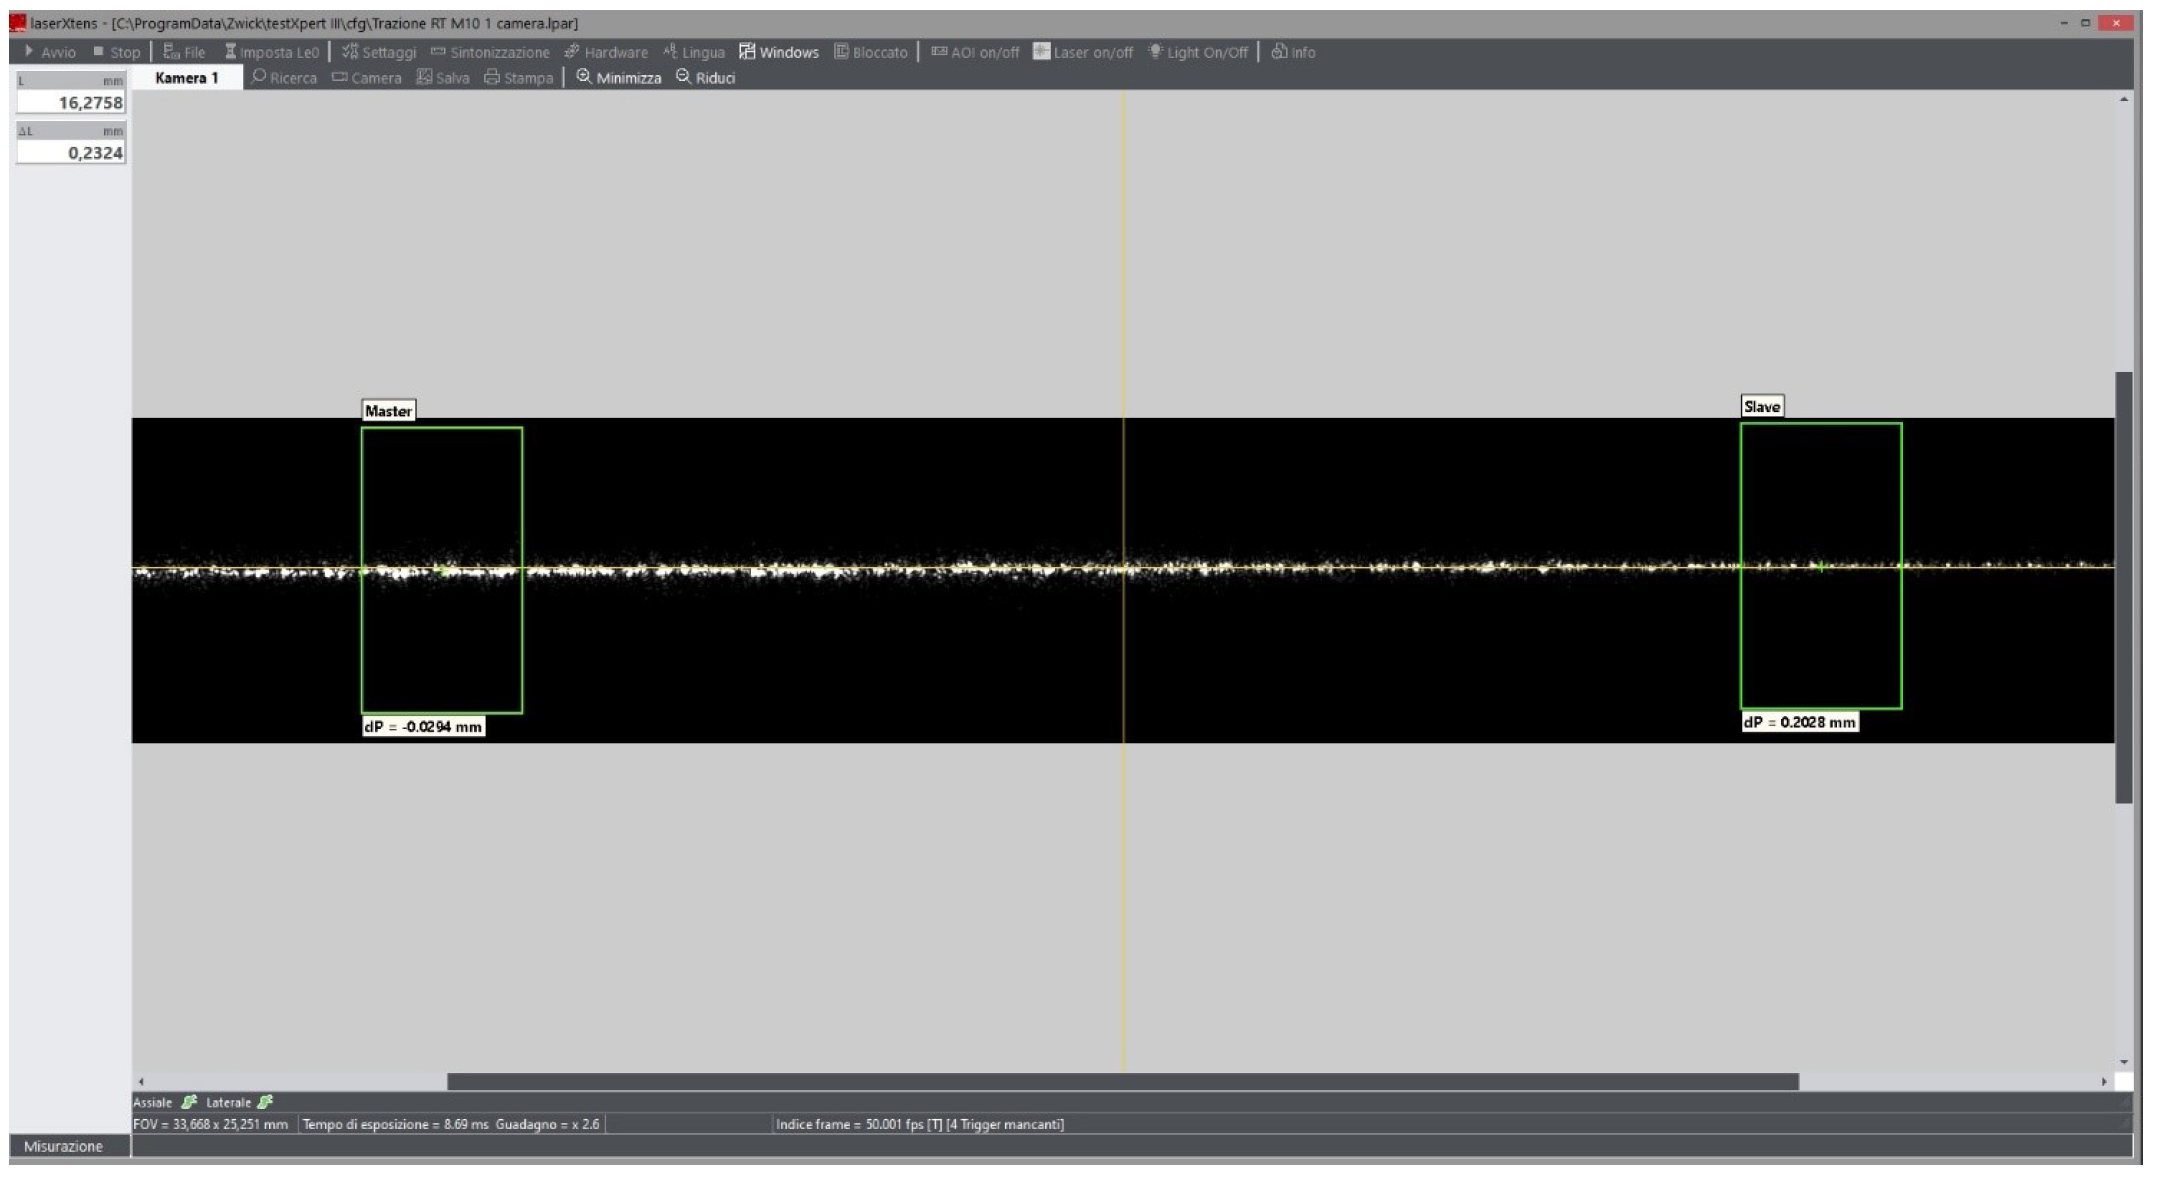
The strain gauge works on the principle of image contrast: the laser creates an optical contrast on the surface of the specimen, and a pair of cameras “photographs” the specimen at the instant the test preload is reached. From this time, the 2 images captured at the beginning of the test are followed until the specimen is broken.
Completing the test setup is the specimen grasping system. To enable grasping of the specimen inside the furnace, the following are used:
- A pair of extension cords
- Special inserts for threaded specimens
- Special inserts for flat specimens with centering pins
All these parts are made of MAR-M 246, a Nickel-based superalloy with excellent creep resistance properties at high temperatures. The load train is completed with a pair of ball joints, which allow optimal alignment in accordance with the requirements of ASTM E1012.